
Here’s how to program a garage door opener remote, a wireless keypad or your car’s built-in button on LiftMaster, Chamberlain, Craftsman and Genie openers.
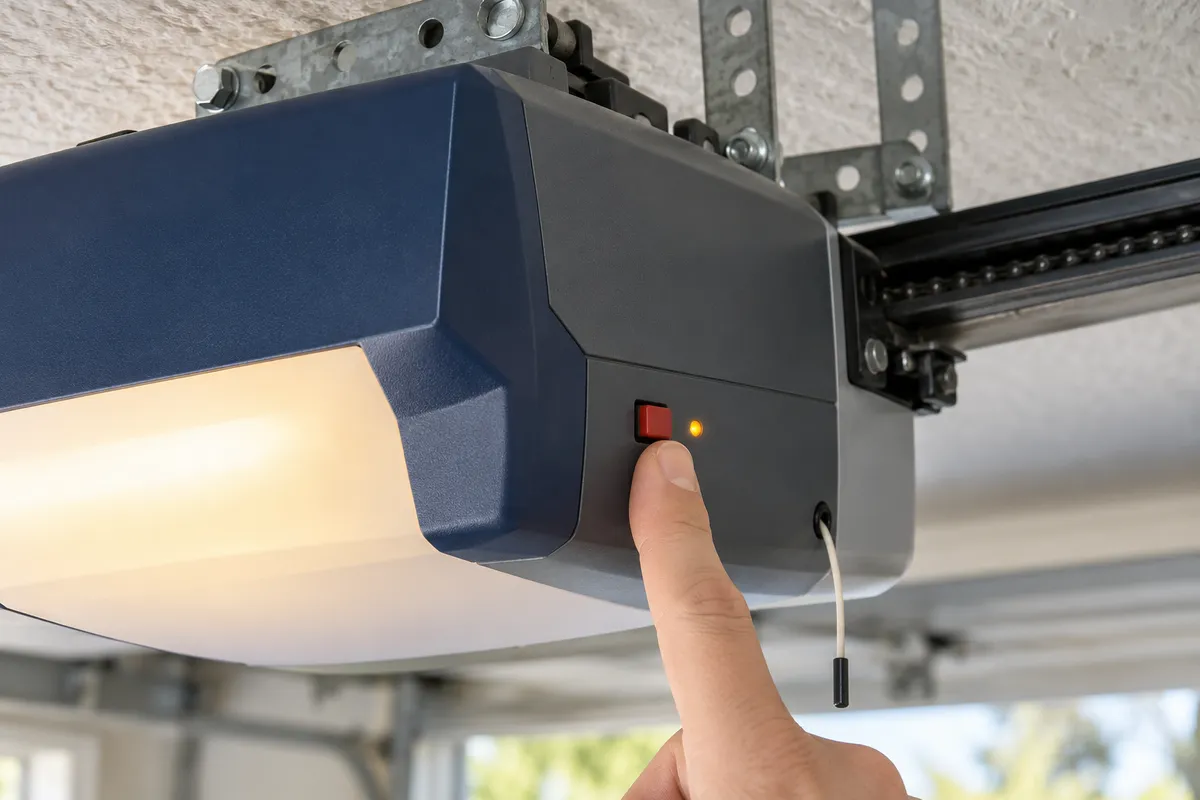
Find the Learn or Program button on the opener’s motor unit, press it once, and within about 30 seconds press the button on the remote you want to add. The opener lights flash or the door moves to confirm it worked. Hold the button too long and you can erase every remote already programmed, so a quick press is all it takes.
Five minutes of prep saves most failed attempts. Close the garage door, keep people and pets out of its path, and have the remote or keypad you want to add in your hand before you touch the opener.
The brand name is on the motor unit hanging from the ceiling, usually on the light cover or a label on the side. Look on the back or side of that unit for a small square or round button labeled Learn, Program or Learn Code, often next to a small LED and the antenna wire. Some wall controls also have a Learn button, which saves the ladder.
On LiftMaster, Chamberlain and Craftsman openers, the color of the Learn button tells you which remotes and keypads are compatible and how long the programming window stays open. Write it down; you’ll need it if you ever buy a replacement remote.
LiftMaster and Chamberlain openers share the same Learn button method, and many Craftsman openers carry the same button and follow these steps too. If your Craftsman has no Learn button, check its manual, and see LiftMaster’s own instructions for model-specific details.
If your opener has a yellow Learn button, the light can stay on for up to 2 minutes, which gives you more time. Purple, red, orange and green buttons give you about 30 seconds.
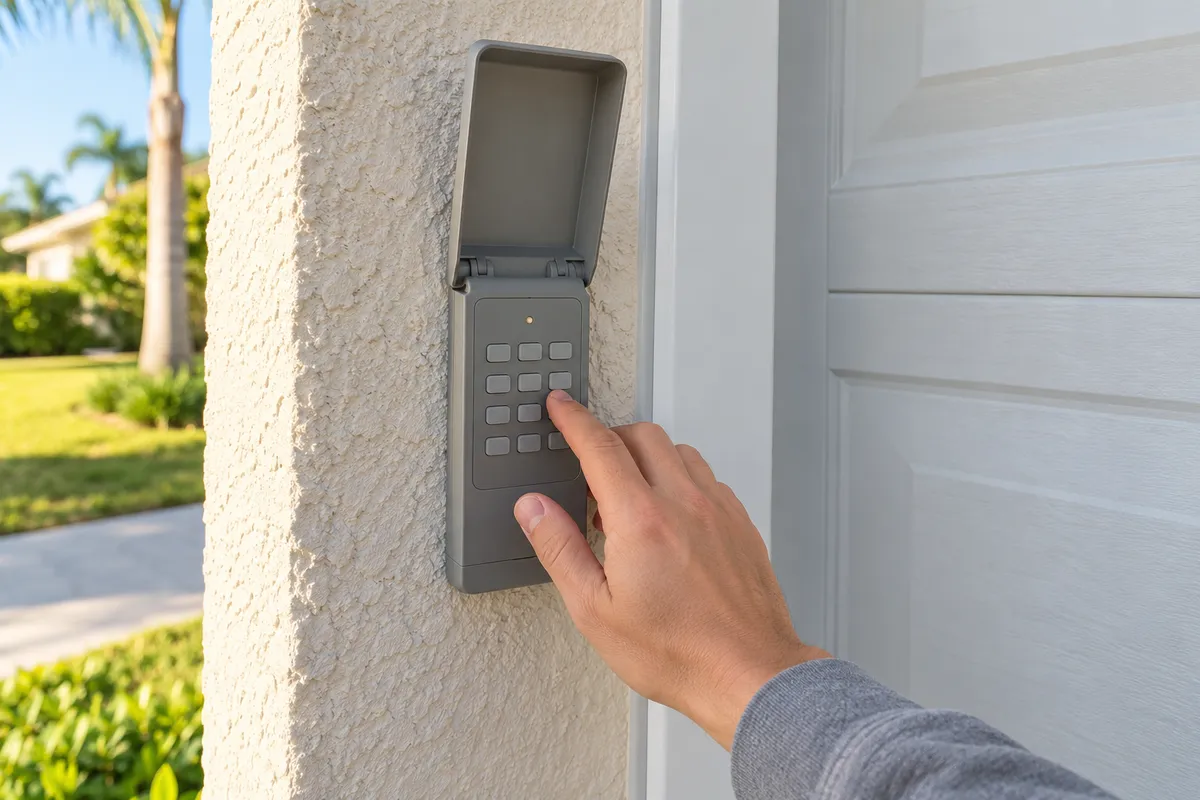
Some keypads, including the 877MAX and 940EV models, use a different sequence that starts on the keypad itself, so follow the instructions printed for those models.
Openers with built-in Wi-Fi can also add a remote through the myQ app, under the device settings for accessories. It’s handy if the motor unit is hard to reach.
Holding the Learn button for about 6 seconds erases every remote and keypad stored in the opener. If that happens by accident, reprogram each one with the steps above.
Genie changed its programming method around 2011, so start by checking whether your opener has a Program button with blue and purple lights (newer) or a Learn Code button with a red light (made between 1995 and 2011). Genie’s programming instructions cover each remote model.
If the lights don’t go off, press the remote button a few more times.
Press and release the Learn Code button once so the red LED starts flashing, then follow steps 2 to 4 above within 30 seconds. On openers made from 1995 to 1997, use one of the two upper remote buttons.
Many cars have garage buttons on the mirror or overhead console, usually HomeLink. Park outside the garage with the door’s path clear and a fresh battery in your original remote before you start.
A rapid flash with no movement means your opener uses rolling codes, which most modern openers do. Press and release the Learn button on the motor unit, then go back to the car and press and release the trained button, repeating up to 3 times, within about 30 seconds.
Newer LiftMaster and Chamberlain openers with a white Learn button use a different system that pairs through the original handheld remote, so follow the instructions for your car on the HomeLink website.
Most failed attempts come down to one of these four things, and you can check all of them in a few minutes.
A weak battery can light the remote’s LED and still not send a strong enough signal. Swap it before you try anything else.
Genie asks for at least 5 feet between you and the opener, while car buttons want the remote 1 to 3 inches away. Standing in the wrong spot is a common reason nothing happens.
Remotes built on different technologies usually won’t program to the same opener. Compare your Learn button color or opener model with the remote’s packaging, or use the manufacturer’s compatibility tool.
Some wall controls have a lock or vacation mode that blocks every remote until it’s switched off. If the wall button works and no remote does, check for it.
If the wall button doesn’t work either, the opener hums without moving, the lights flash in a pattern or the door feels heavy and uneven, the problem is the opener or the door rather than the remote. That’s the point where our garage door opener repair service takes over, and if the door won’t close and your home is open, call (941) 226-9542 for urgent help.
Clear the opener’s memory after you move into a home, lose a remote or have one stolen, and then reprogram only the remotes you have in hand.
Press and hold the Learn button until its LED turns off, about 6 seconds. Every remote and keypad is erased.
On newer models, hold the Program button until the round LED turns blue, release it, then hold the Up and Down buttons together until both LEDs turn solid blue. On 1995 to 2011 models, hold the Learn Code button until the LED stops blinking.
Yes. Repeat the steps for each remote. Most openers store several remotes and keypads at once, so adding a new one leaves the others working.
Usually. The Learn or Program button is on the motor unit near the ceiling. Some LiftMaster wall controls have their own Learn button, which lets you skip the ladder.
Start with a fresh battery. If the range is still short, the opener’s antenna wire may be bent, tucked up against the ceiling or damaged, and our opener service can check the antenna and the receiver.
Often, yes, as long as the universal remote lists your opener brand and Learn button color. Check the packaging before you buy, because not every universal remote supports every opener.
The reset happens at the opener. Erase its memory using the steps above, then program each remote again.
If a fresh battery and the steps above didn’t fix it, we’ll diagnose the opener on site with a free estimate and tell you whether it’s a quick repair or time for a new unit.